 After I watched an episode on "The Victory Garden", I was so excited to try my first garlic patch. In mid-October, 2003, we cultivated an area 8'x3'. The garlic bed is in front of our house which receives full sun.
Garlic
After I watched an episode on "The Victory Garden", I was so excited to try my first garlic patch. In mid-October, 2003, we cultivated an area 8'x3'. The garlic bed is in front of our house which receives full sun.
 The garlic bed is one of 5 beds in the right front of the house. The 2 nearest the house contain pernnial herbs and the one further out past the garlic beds is planted with annuals herbs, such as basil.
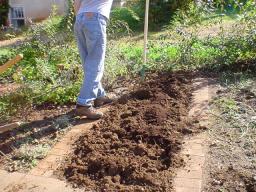
 I used Bumper Crop as a supplement to the soil. I have discovered that garlic and onions like a really rich soil with lots of nutrients. The bulbs grow best if the soil is not compacted and is easily workable. Garlic also requires good drainage, so the bulbs do not rot. Adequate moisture is essential though. Do not let your bulbs dry out, water your garlic patch if you go through a dry spell.
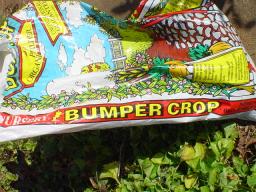
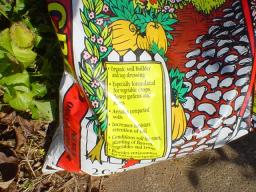 This is a photo of the Bumper Crop bag touting it's qualities: Organic soil builder and top dressing, especially formulated for vegetable crops, flower gardens and roses, aerates compacted soil, increases moisture retention of soil, conditions soil for roses, planting of flowers, vegetables and lawns, provides environment for soil micooraganisms.
 Bumper Crop contains natural organic ingredients: spaghnum peat moss, composted fish bones and shellfish, composted chicken and cow manure, peat humus, blood and bone meal, kelp/seaweed, lime added as ph adjuster, wetting agent added.
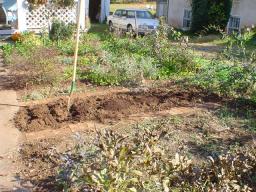 This is the garlic bed as it is being cultivated.
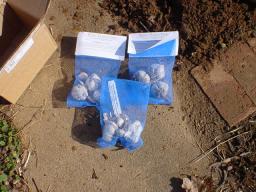
 I ordered a "sampler" of garlic from White Flower Farms for about $20. They sent nice specimens of 3 different garlic types: Early Italian Purple, Musik and Silver Rose. I don't believe White Flower Farms stocks garlic anymore. I have not been able to find it on their web-site. I ordered this year's garlic bulbs from another source on the Internet. We'll see how well it performs.
 Early Italian Purple: This early softneck garlic is one of the most popular varieties grown, producing big solid heads with whitish purple skin and many small cloves. It has an excellent flavor, is well adapted to summer heat, and is an exceptionally long keeper.
Musik: This hardneck garlic matures late in the season, producing very large heads with 4-6 buff colored cloves with red highlights. It peels easily and has a hot and pungent flavor and memorable bite. It is not a long keeper. Musik sends up a flower stalk that coils as it grows, creating an ornamental accent. To encourage the fullest bulb development, however, remove the flower stalk when it begins to curl.
Silver Rose: This late-maturing softneck garlic produces rose-colored cloves with bright white skin. It is popular in the Mediterranean region as well as in the American south and west. It is the very best variety for making garlic braids.
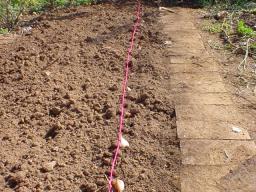 Pull a string along the rows to keep them straight. The directions that came with the garlic bulbs suggested preparing a bed that is 6'x2' in full sun and well drained soil. Separate the bulbs into individual cloves and plant each clove, with the tip pointing up, 2in deep and 6in apart.
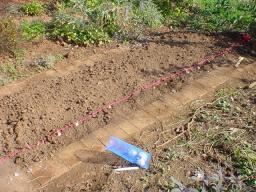 This photo shows the first row of garlic cloves lined up on top of the soil, along the string that I pulled. It's a good idea to do a preliminary lay out before actually digging and planting. Measurements can be deceiving, till you "see" the bed laid out with the correct measurements. You may think you can fit more bulbs in than you really can, unless you lay it out first.
 The instructions from White Flower Farms, tell you to mound the dirt around your garlic as it sprouts and begins to grow. So what you have are little hills around your green sprouts. This photo shows the bed after the first frost. The instructions tell you to mulch the bed after the first frost to prevent the bulbs from heaving out of the ground. As the weather fluctuates and the ground freezes and then thaws, there is a danger of the cloves being pushed up out of the ground (heaving). Mulching keeps this from happening.
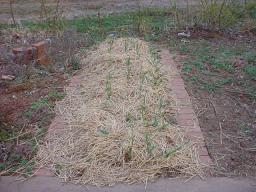
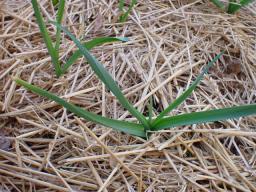 This is the top of the garlic peeping through the straw mulch in spring 2004, following the October planting.
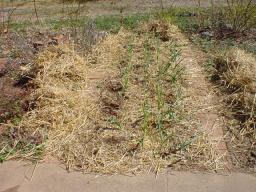 After the danger of frost has past, you can pull away the mulch.
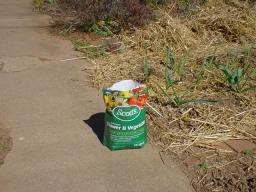 More fertilizer is recommended in the spring-time. I used Scotts vegetable and flower fertilizer and followed the manufacturer's instructions for application.
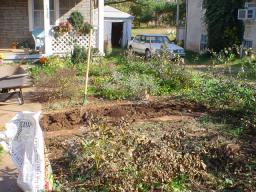
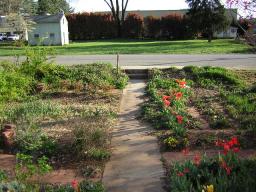 This photo was taken from the house in early spring, looking out toward the street. The garlic bed is to the left, about mid-way up the sidewalk.
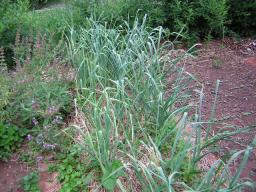 The garlic bed in the summer. The green tops get a little over knee high.
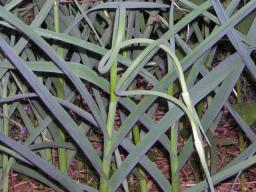 These very unusual looking growths are called scapes. I have read gourmet chefs like to use scapes. Some garlic growers, believe that you should cut these off the plants as soon as they appear to promote good bulb growth. They do produce flowers, which are cool looking. My experience with them, is if I let them keep growing, they got really stiff at the bottom near the garlic bulb and the bulb was not as big as I would have liked. I believe I will cut these off this year, even though they are interesting and fun to look at.
 I harvested my garlic around June/July 2004. I hung them up to dry by their tops on a clothes line that I strung on our front porch. I did not braid them. Once the dirt was dry enough to brush off, I cut the tops off and the extra long roots and brushed the dirt off. I stored my bulbs in a basket-like container with a lid.
The flavor of my garlic so was wonderful. It was so amazing to be able to pull it up out of our own garden and use if fresh. We also grow basil and of course made pesto with our fresh ingredients.