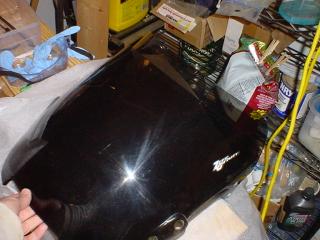
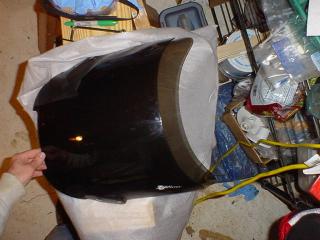
My VFR came with a Zero Gravity windscreen which I guess was a sport screen. I wanted more wind protection. I installed a Givi (see in this photo) which had more protection, but created more noise and turbulence (not buffeting, more like a rumble) around my helmet.
So I got a Zero Gravity Sport Touring screen (the Givi is for sale).
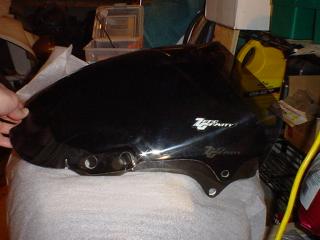
Here the stock Zero Gravity sport is on top of the Touring screen. The touring screen is 2 or 3 inches taller.
I changed the brightness and contrast so you can see the difference in size between the smaller sport screen and the taller sport touring wind screen.
In this photo, you can see the regular screen laying on top of the ST. The ST is a couple of inches taller and has no Euro Flip. I think the Euro Flip may be a bad idea.
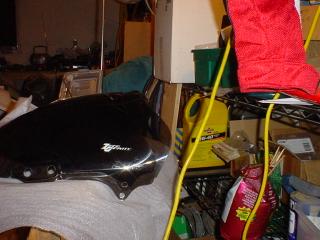
A shot of the two Zero Gravity windscreens. It's hard to see, but where they overlap, it is darker.
This is a little easier to see.
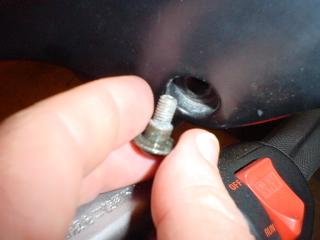
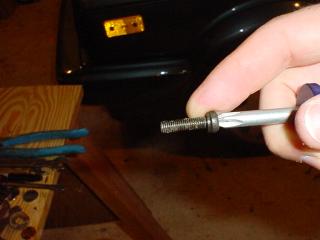
You start the whole process by removing the mirrors and 4 small screws (two on each side) of the fairing wings. The screw with the shoulder goes in the front hole.
Same screw, front inner.
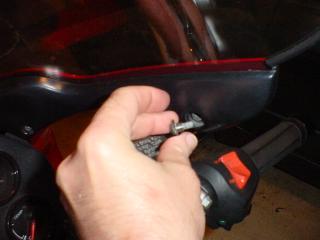
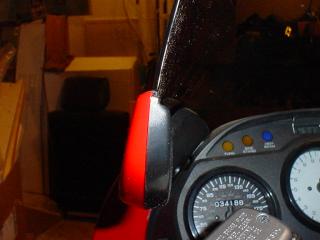
When removing the screw toward the rear of the upper fairing, brace the outer part so you don't bend things. This is all plastic up here.
That's the front, inner screw again, this time left side.
What the inside of the upper fairing looks like.
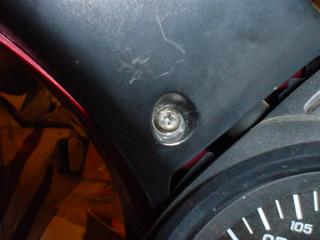
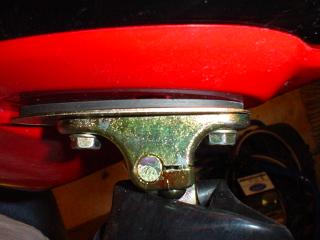
When you get the wind shield back on, the red and black plastic should be joined with a close fit. Check this fit before tightening the screws.
The correct, close fit of the windshield, and faring.
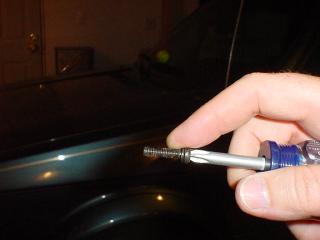
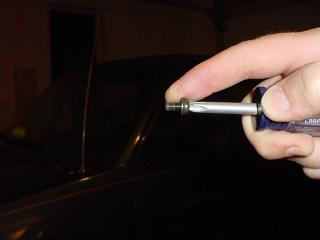
Putting those screws in is trick. I hold the screw on the screwdriver with one finger.
Description coming soon.
Description coming soon.
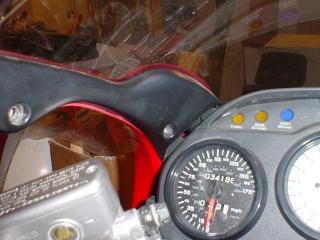
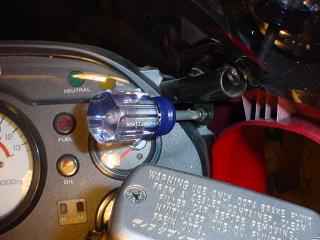
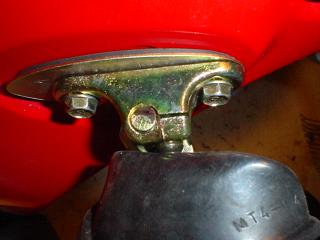
That's where the front screw goes. This is a photo were I was checking out the angle of the screw without the trim. Those front screws are easy to crossthread, so I checked just how I should thread the screw before I got the plastic on.
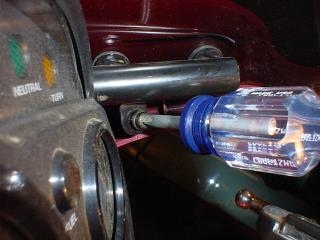
Same thing as above. You can see the bar that hold the upper fairing.
The screwdriver just stayed in there (phillips head screw), so I took a few photos. Not really a difficult enough concept to justify so many pictures.
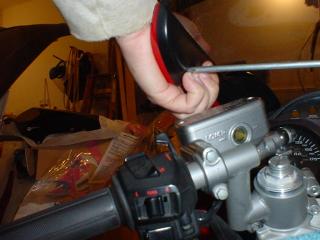
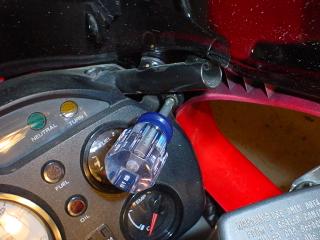
Removing the mirrors stars with pulling back the boots.
I think those bolts are 10 mm, and a small wrench is good. The clearance on the rear bolt is kind of tight.
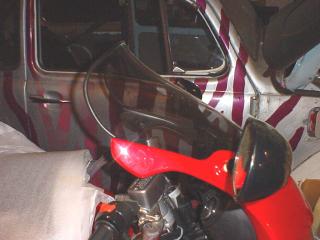 My VFR came with a Zero Gravity windscreen which I guess was a sport screen. I wanted more wind protection. I installed a Givi (see in this photo) which had more protection, but created more noise and turbulence (not buffeting, more like a rumble) around my helmet.